Self-Serve Infrastructure Cancellation Steps:
Withdraw Your Funds
The most important step before the Voltage deprecation is complete, August 31, 2026, is to withdraw all funds from your node. Steps 1–6 walk you through moving your Lightning funds to on-chain, withdrawing those funds, and closing your Lightning channels to ensure your node has a $0 balance.
Complete these steps BEFORE August 11, 2026.
We will not be directly supporting node migration from Voltage. Funds must be moved off the node by closing existing channels and withdrawing the balances.
Step 1: Navigate to Your Node
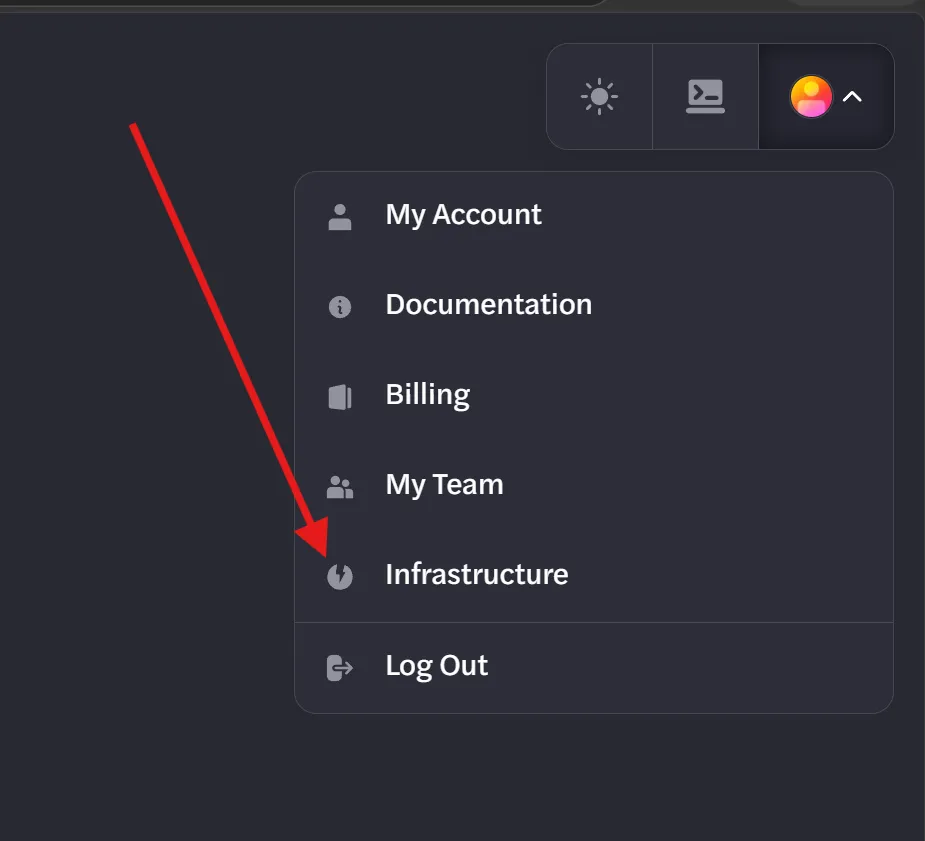
- Go to Infrastructure in your account. Click the upper right icon on the page after logging in to find this button.
- Select your node from the list.
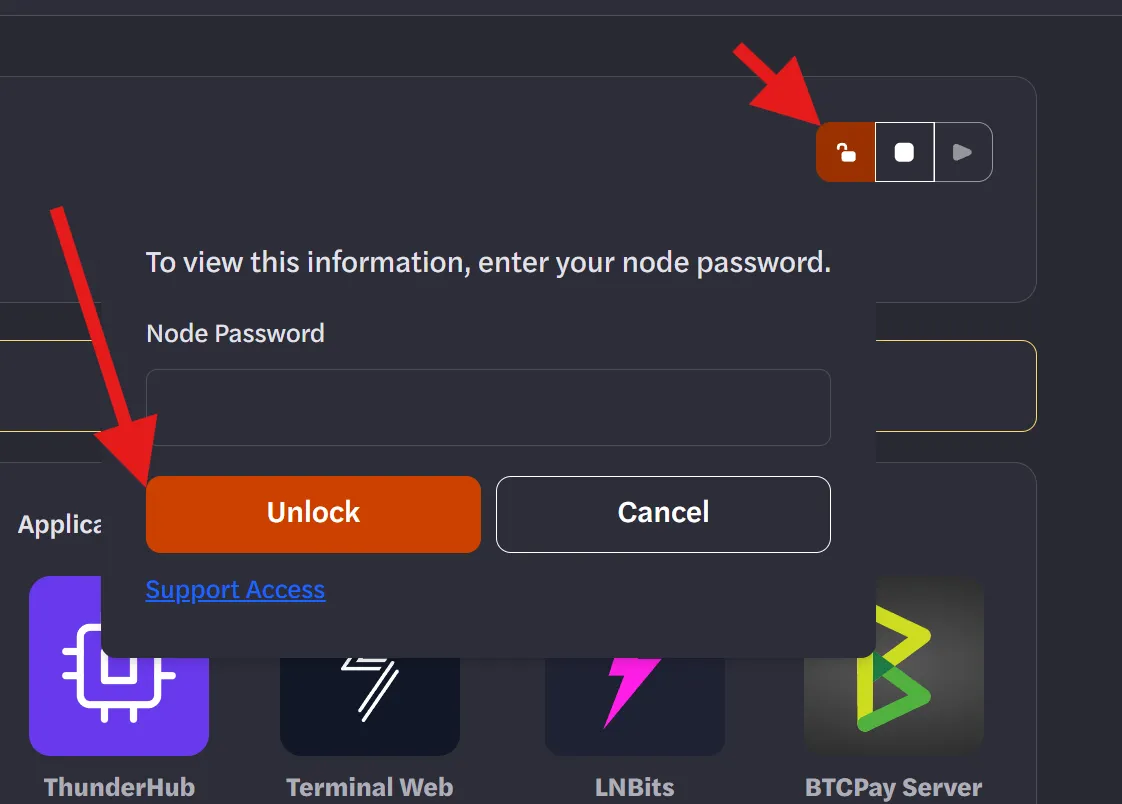
- On your node dashboard, click Unlock to unlock the node.
Step 2: Ensure You Have Your Seed Phrase
- Ensure you have your Seed phrase in case you need to access your funds on an external LND node (should not be necessary if you follow the steps in this guide)
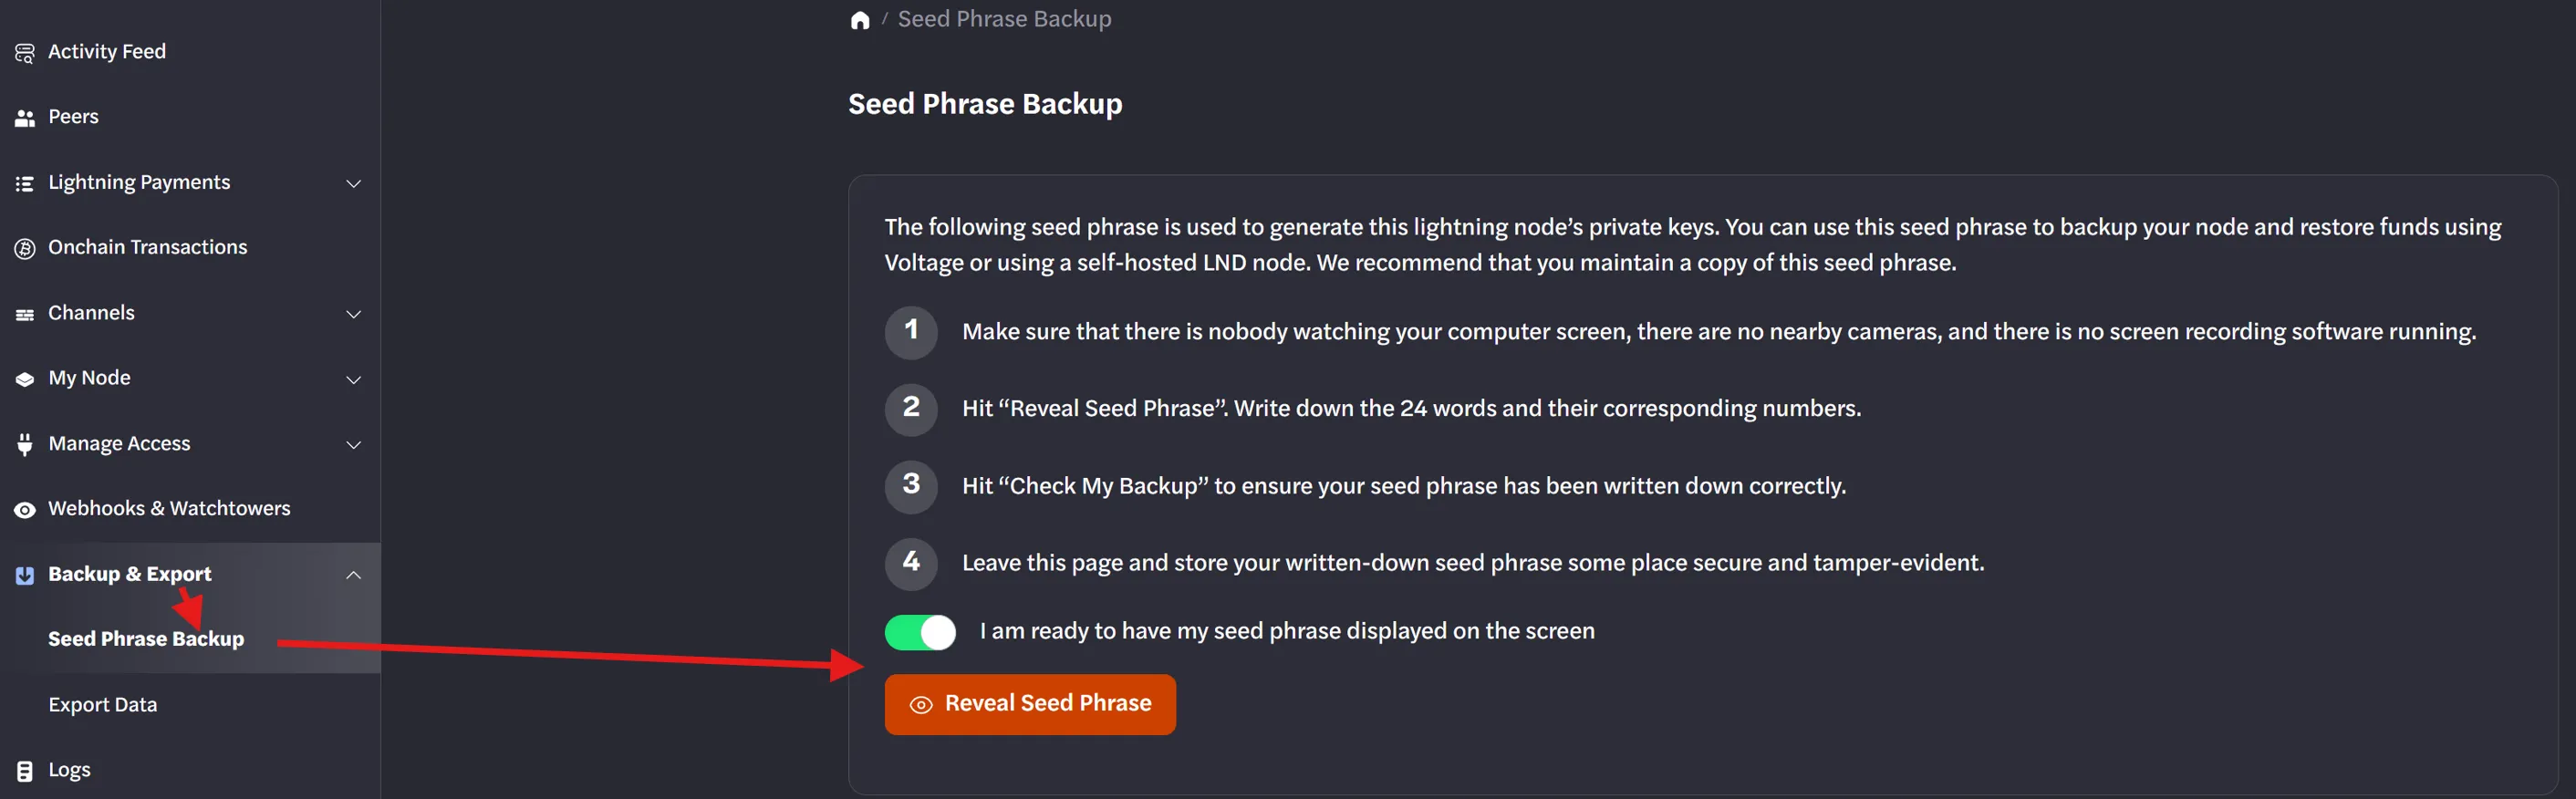
- If you do not have your seed phrase, you can get it by clicking Backup & Export and then Seed Phrase Backup.
Step 3: Check Your Balance
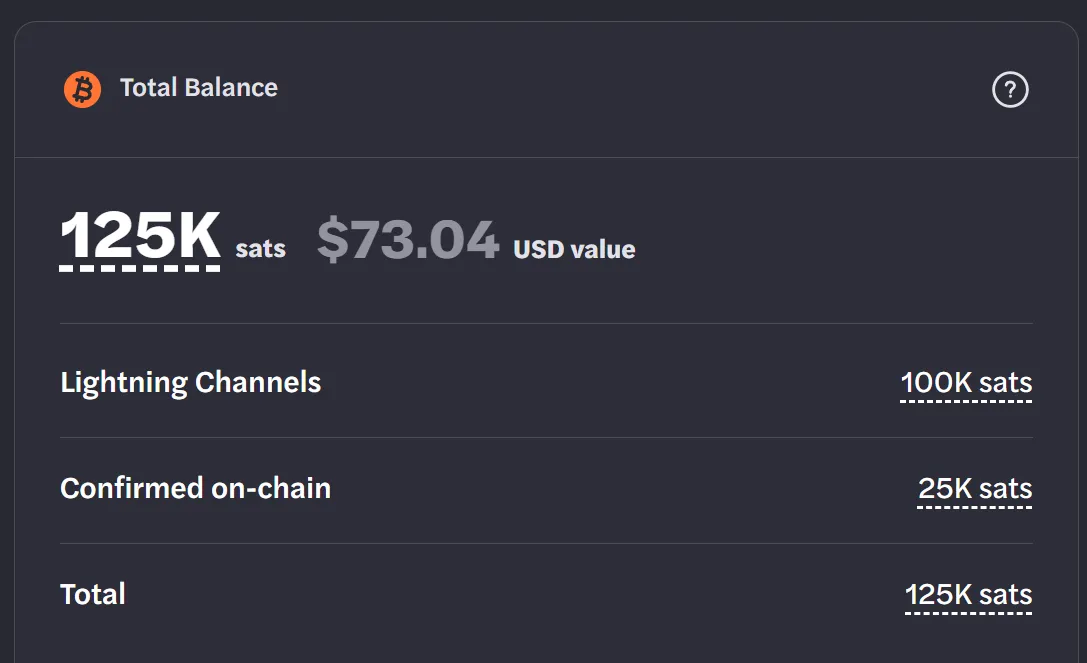
- Once unlocked, check whether your node shows a balance.
- If there is no balance: No further action is needed in ThunderHub. Skip to Deprovisioning Your Infrastructure below.
- If there is a balance: Continue to Step 3.
Step 4: Open ThunderHub
- Click Create ThunderHub.
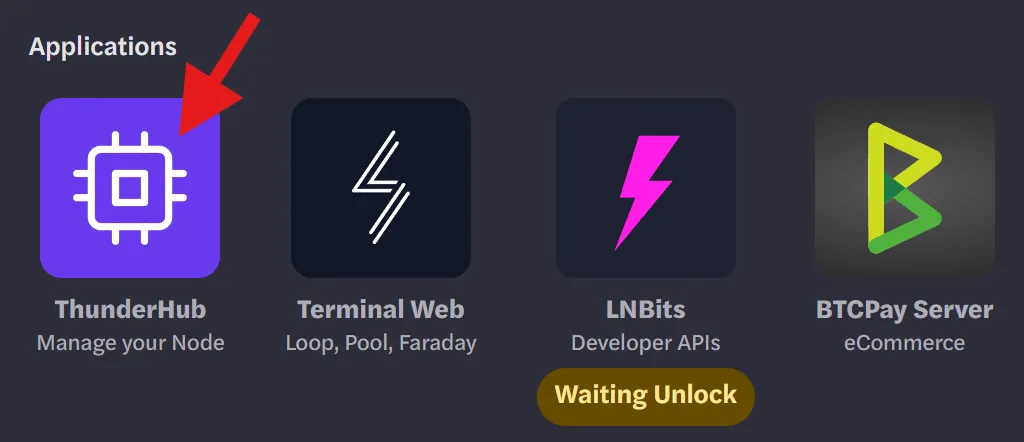
- Wait for ThunderHub to finish provisioning.
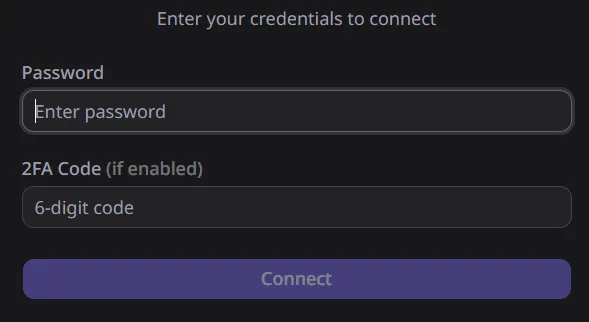
- Enter your node password.
Step 5: Close Your Lightning Channels
Please close all channels by August 11, 2026 to ensure enough time before Voltage's full deprecation on August 31, 2026.
- In ThunderHub, look at the right side of the screen to see your Lightning balance and on-chain balance.
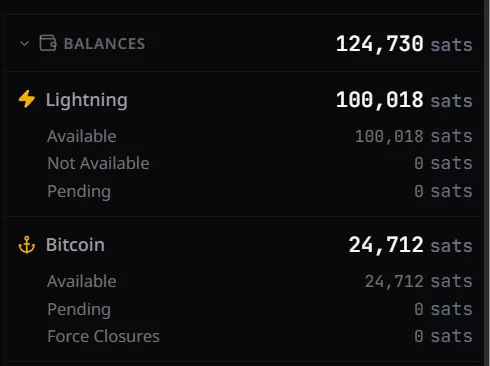
- If you have a Lightning balance, click Channels in the left sidebar.
- You will see a list of open channels, each with an X button.
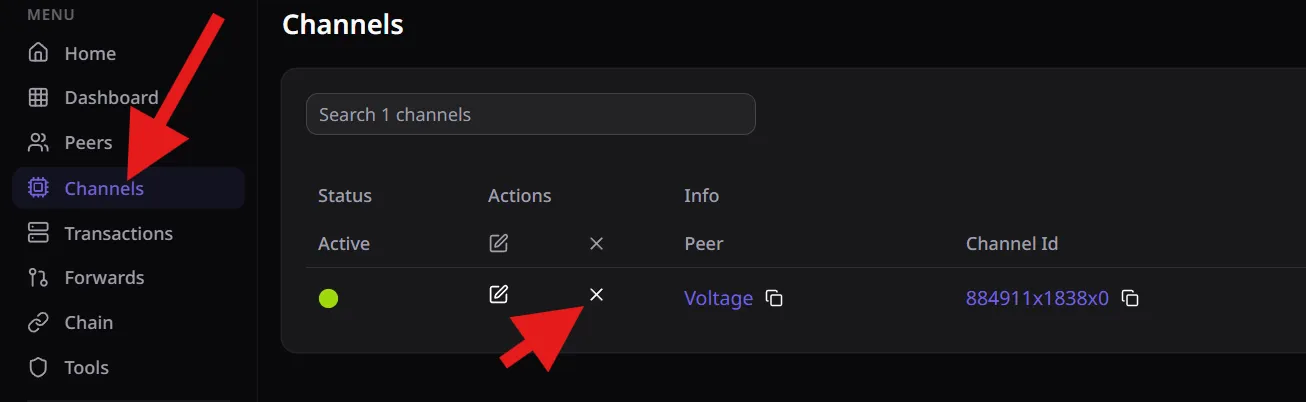
- Click the X next to a channel. You will be prompted to select a fee rate choose:
- Cooperatively Close (always choose this unless it is not available)
- Force Close (only use if cooperative close is not an option)
- Click Confirm Close.
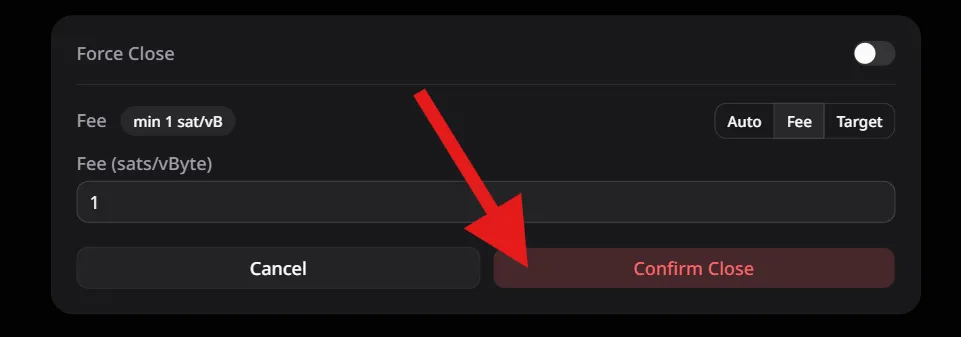
- Repeat for every channel until your channel list is empty.
Step 6: Monitor Channel Closing
- Click the Pending icon in ThunderHub to view closing transactions.
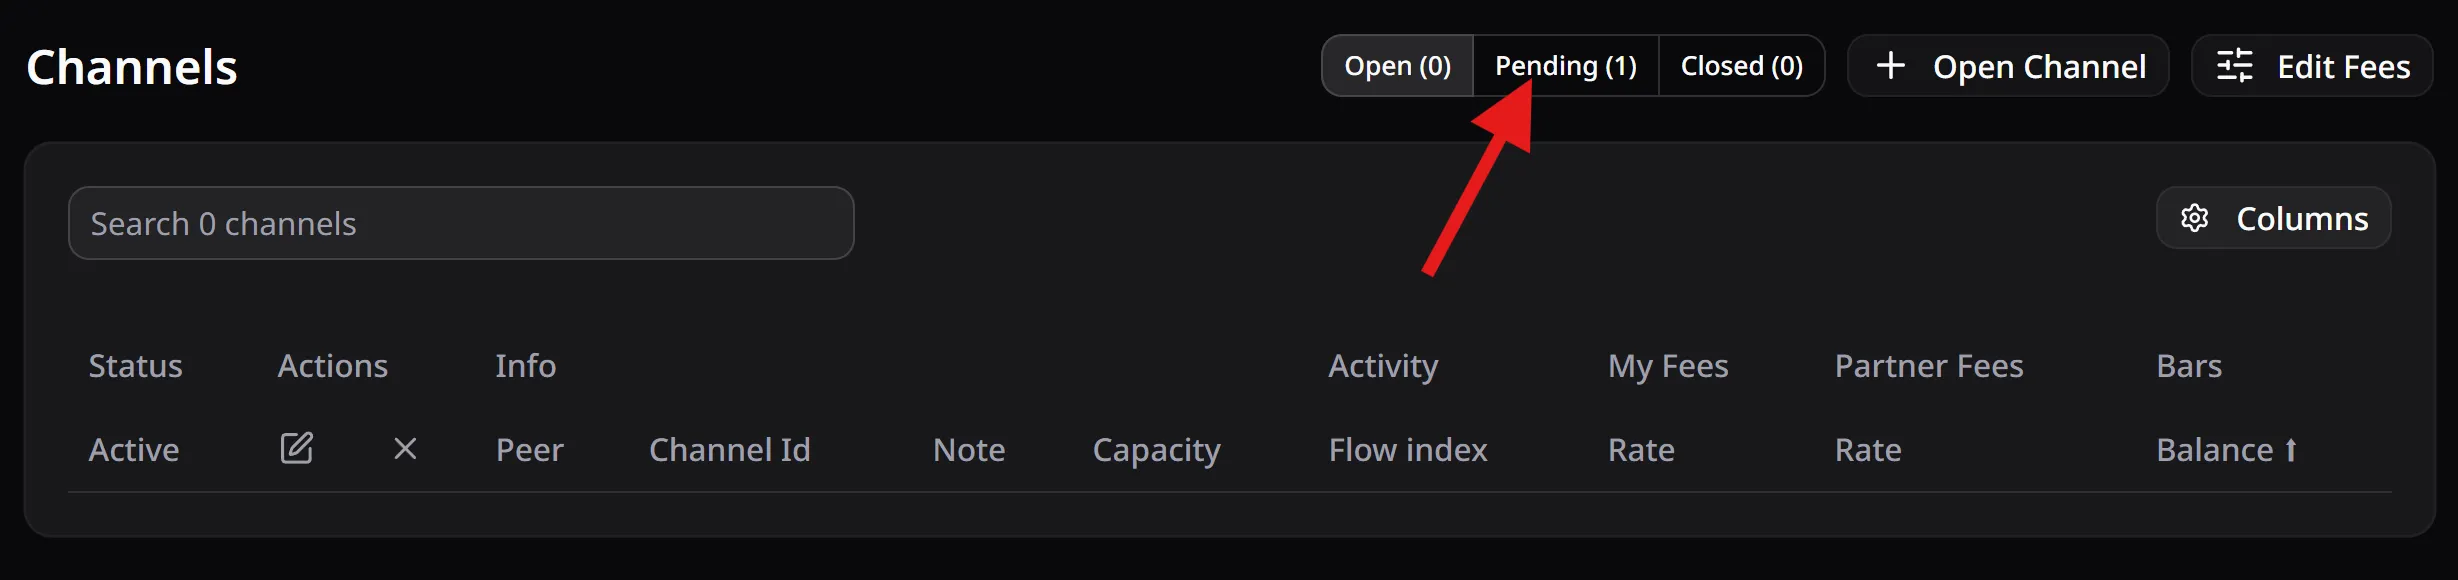
- Wait for all transactions to be confirmed on the blockchain.
- Once confirmed, refresh the page — your full balance will now appear as an on-chain balance.
Step 7: Send Your On-Chain Funds to an External Wallet
- In ThunderHub, go to Home.
- In the on-chain area, click Send.

- Paste in the Bitcoin address you want to send your funds to.
- Click Send All to select the full balance.
- Choose your preferred fee rate.
- Click Send to broadcast the transaction.
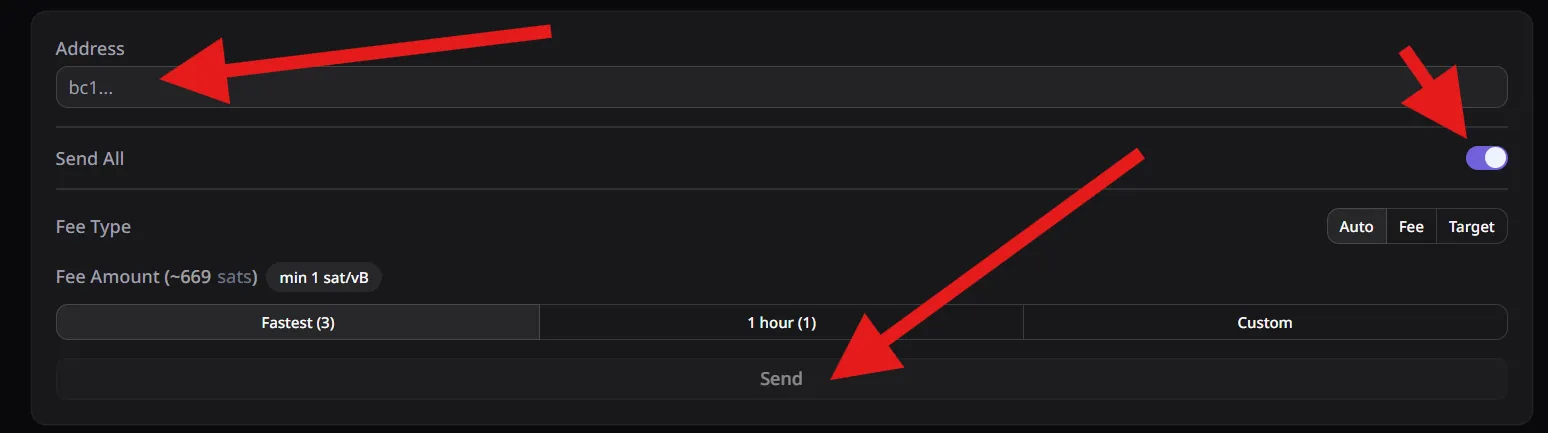
Your funds will be sent out of the node.
Deprovisioning Your Infrastructure
Step 1: Delete Your Node
- Return to your node page.
- Click My Node, then click Delete Node.
- Confirm by clicking the Delete Node button.
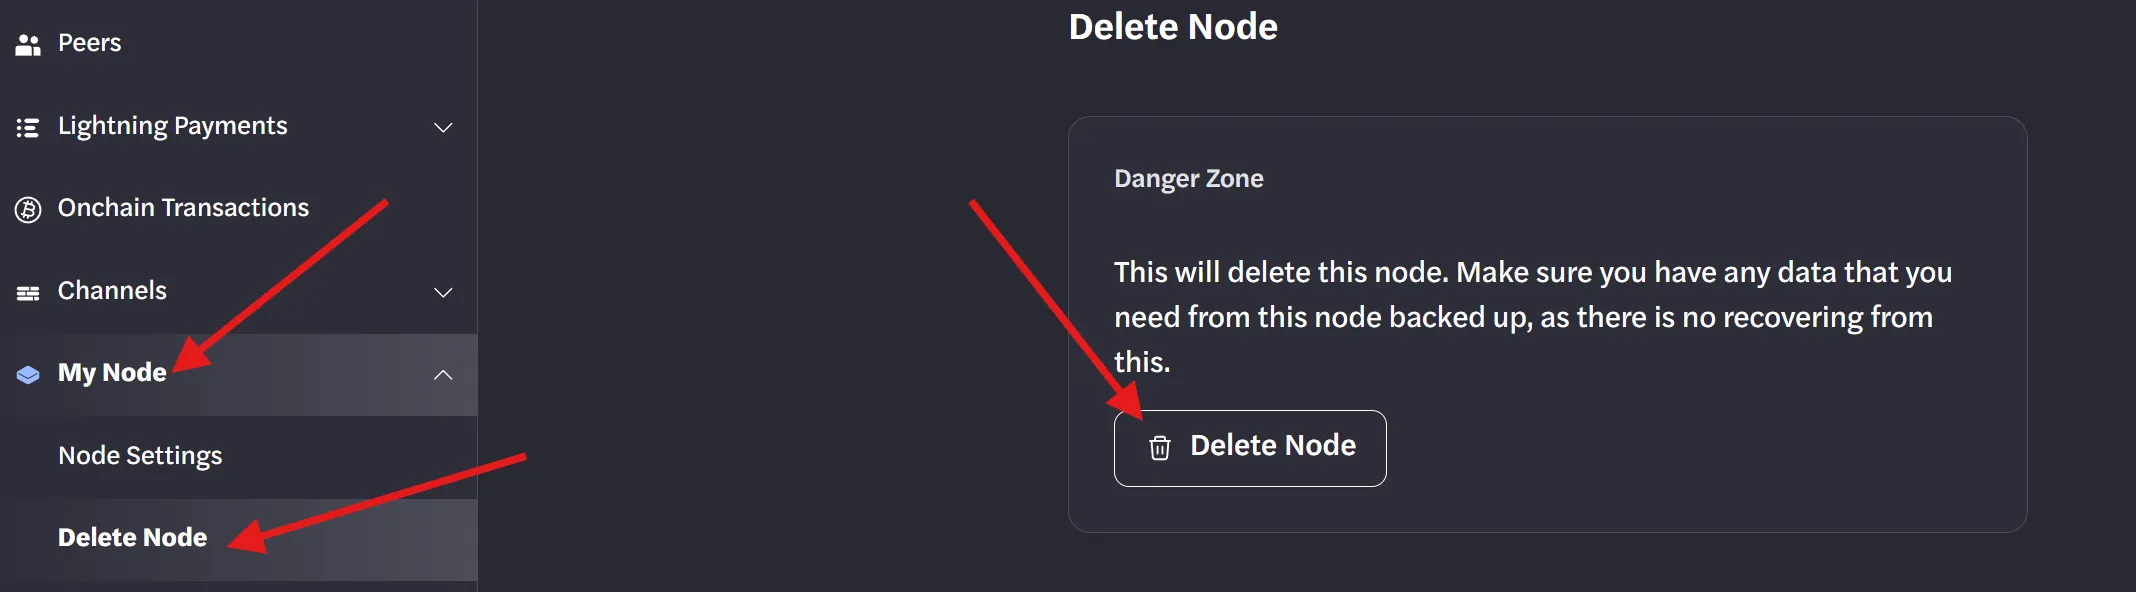
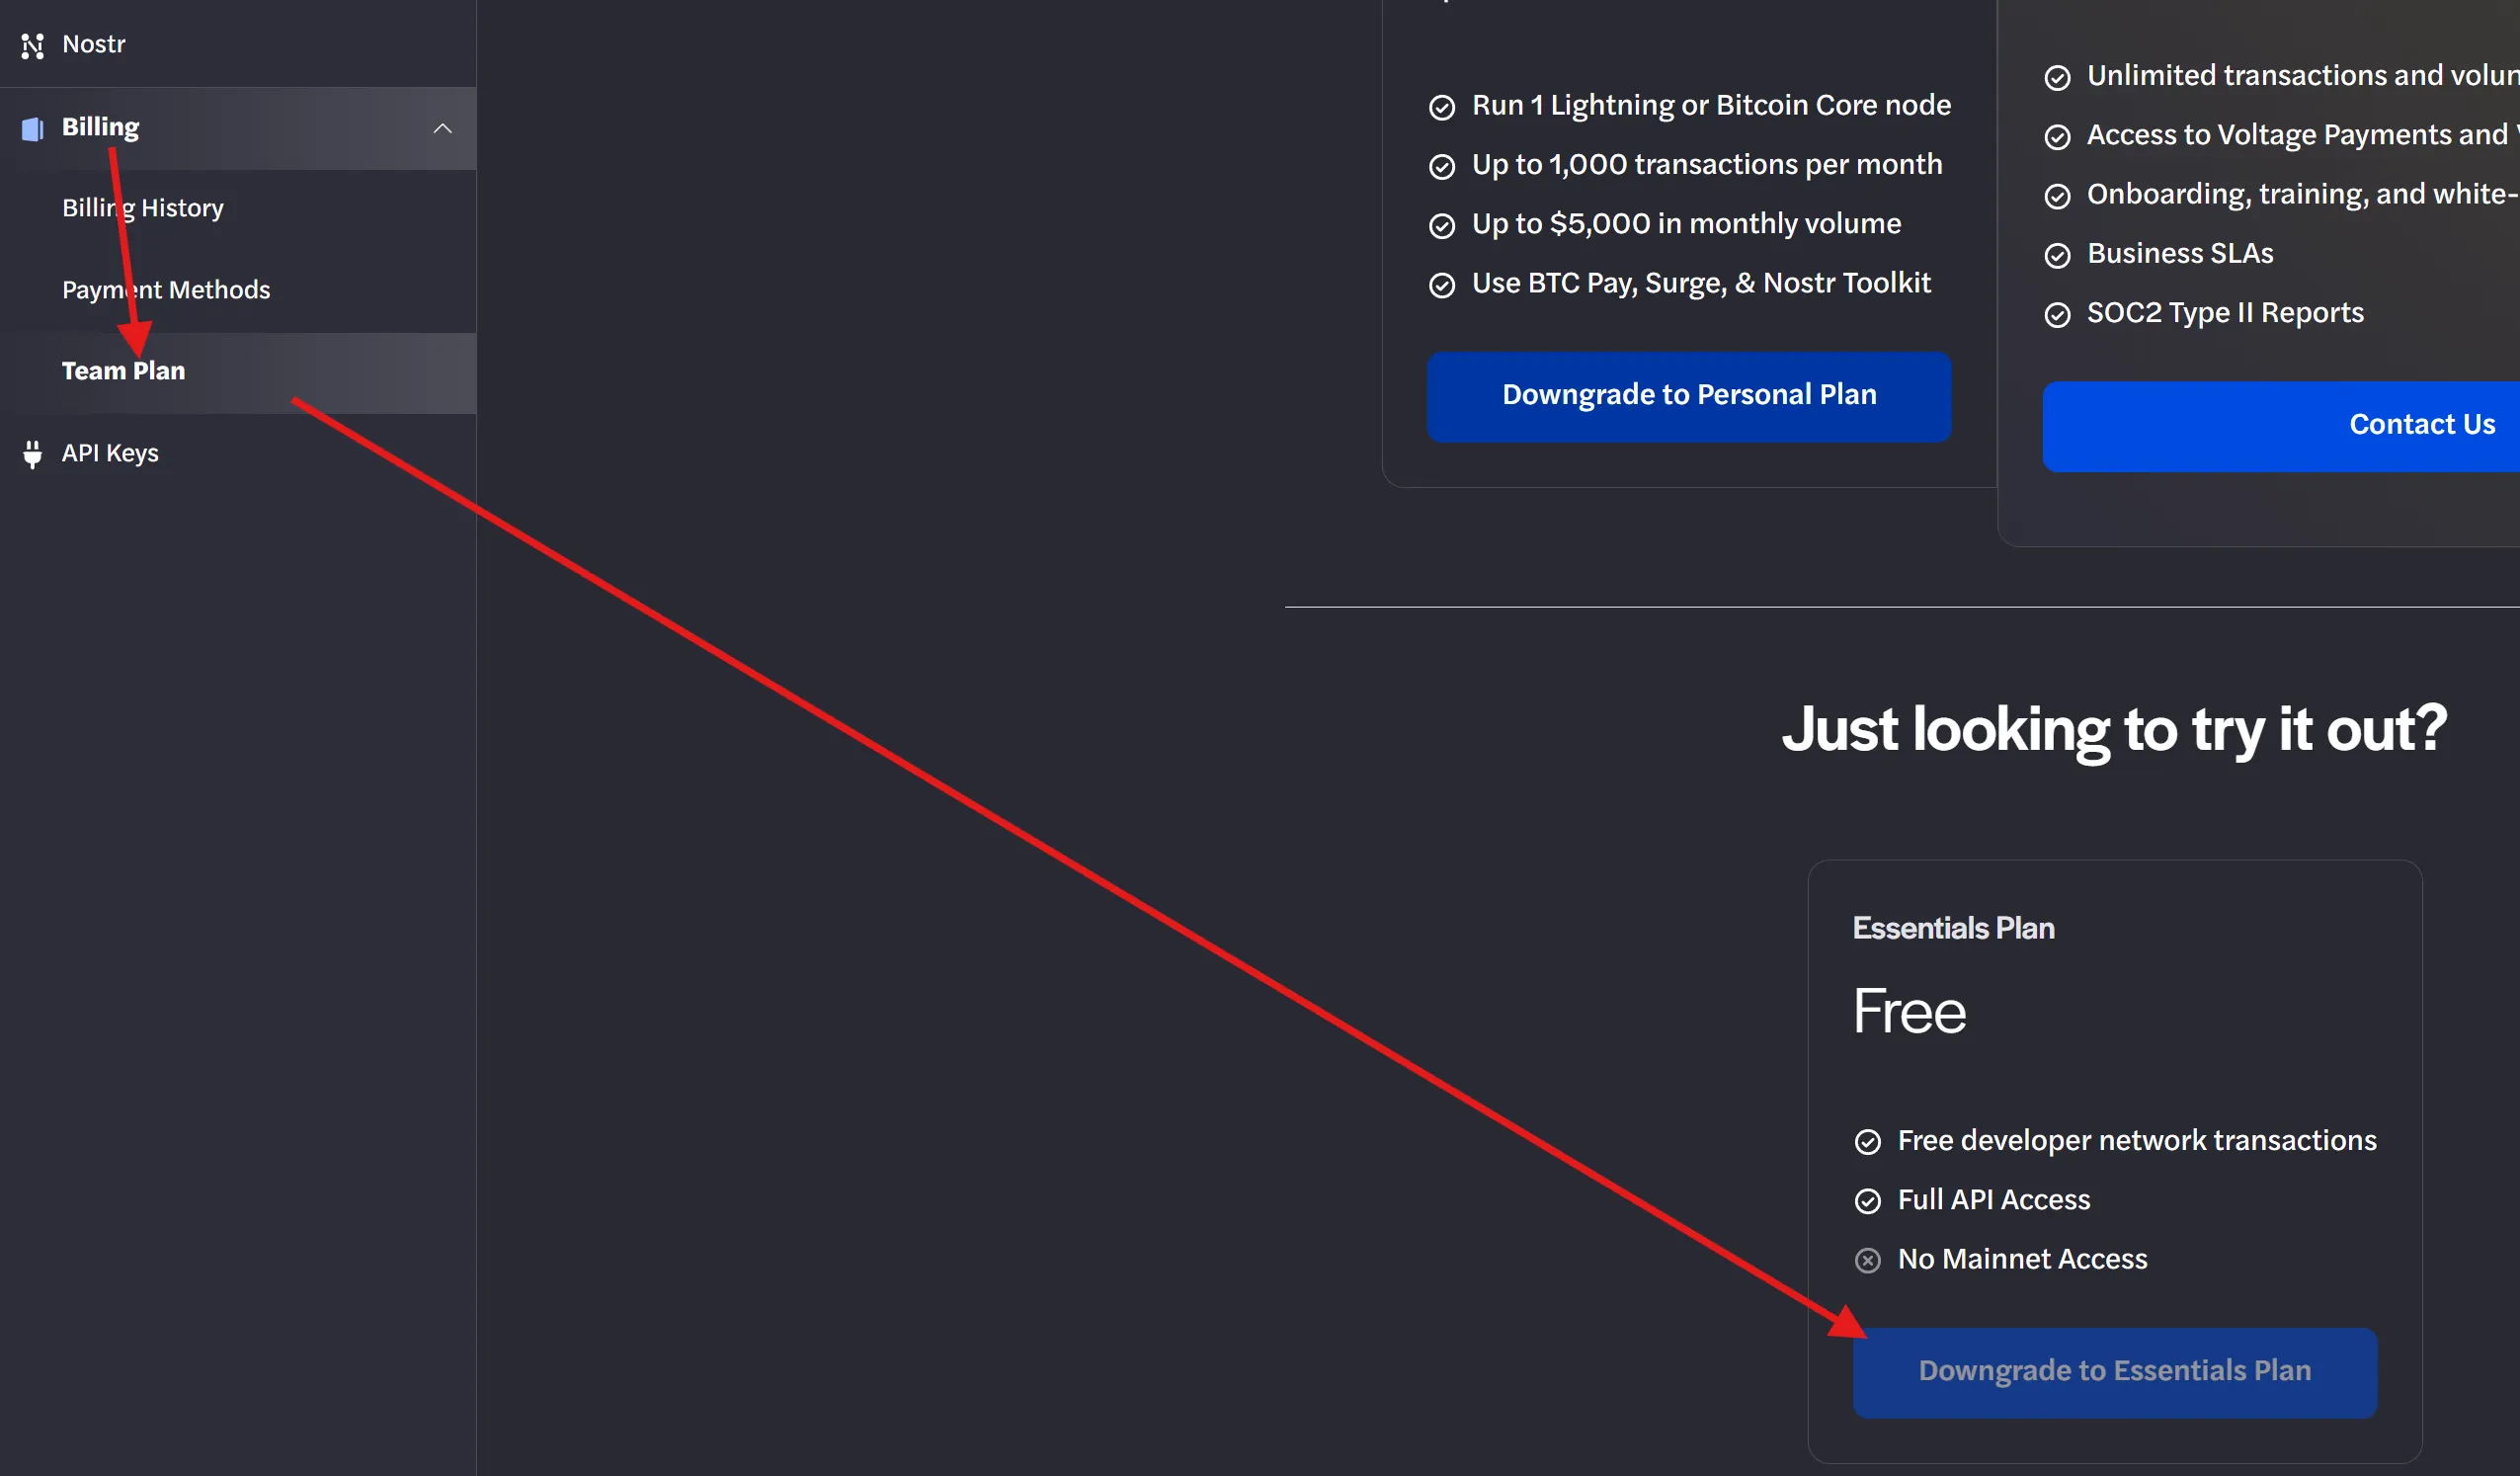
Step 2: Downgrade Your Plan (Optional)
- Go to your team account and switch from the Personal plan to the Essentials plan.
- Note: This will be handled automatically once the service is fully shut down on August 31, 2026. If this step is not completed, billing will continue until August 31, 2026.
Step 3: Export BTCPay Server Records (If Applicable)
If you use BTCPay Server and want to keep a record of your transaction history:
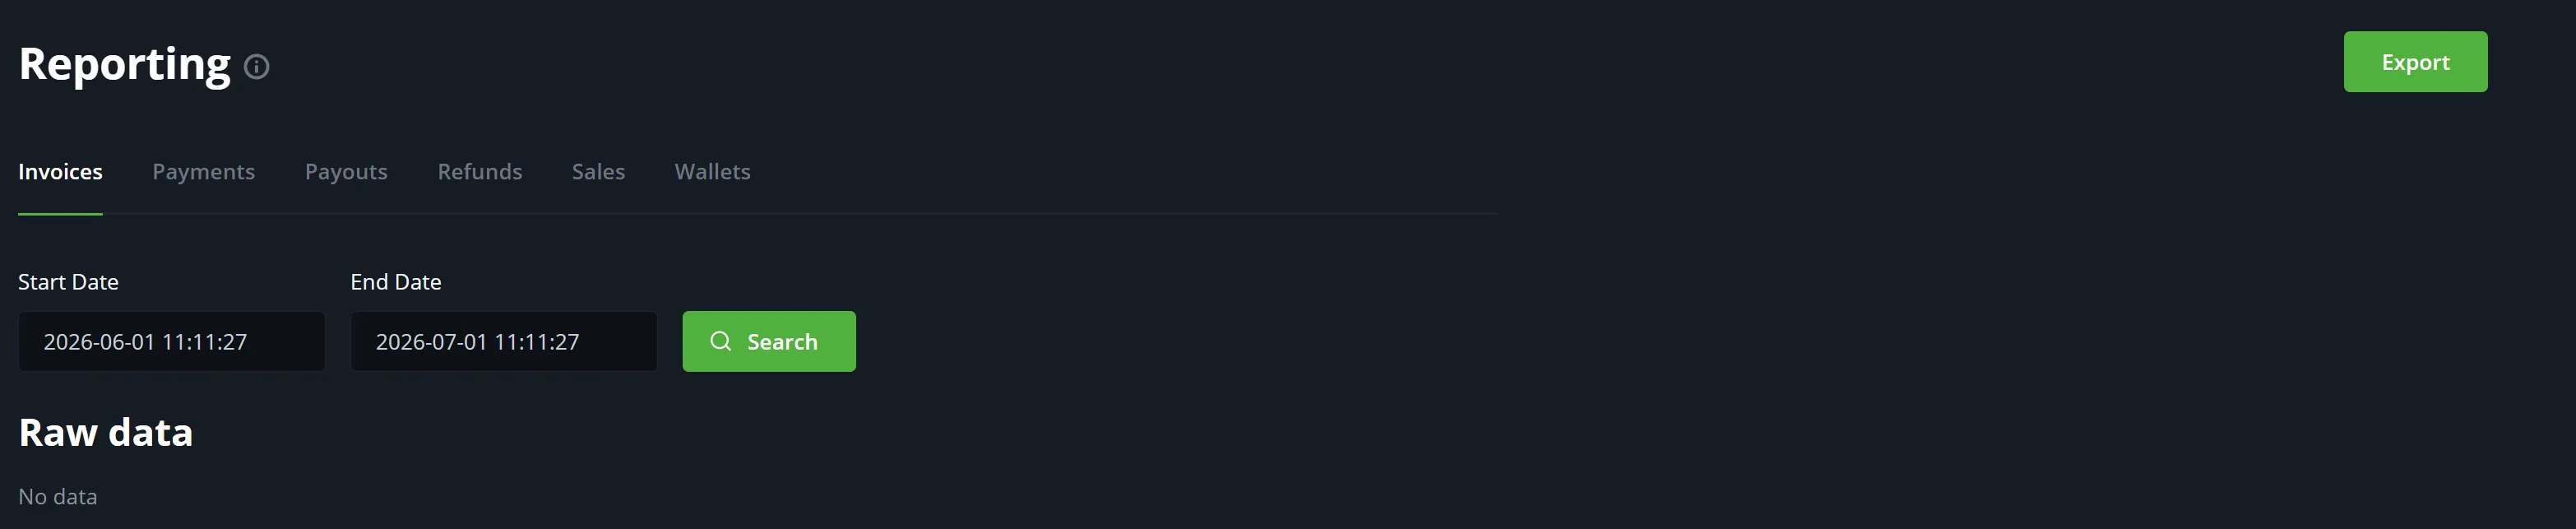
- Go to your BTCPay Server dashboard.
- Click Invoices.
- Export your invoice history as a CSV file.
BTCPay Server does not hold any keys or funds, so no fund withdrawal is needed there.
Step 4: LNbits (If Applicable)
- All LNbits funds are tied directly to your Lightning node.
- Once you withdraw your node's on-chain balance in Step 6, those funds are included automatically.
- No separate action is needed in LNbits.